Nashville Hot Chicken Tenders: Spicy, Buttery And Crunchy
Some dinners whisper, “Enjoy your meal.” These Nashville hot chicken tenders kick the door open and demand extra napkins.
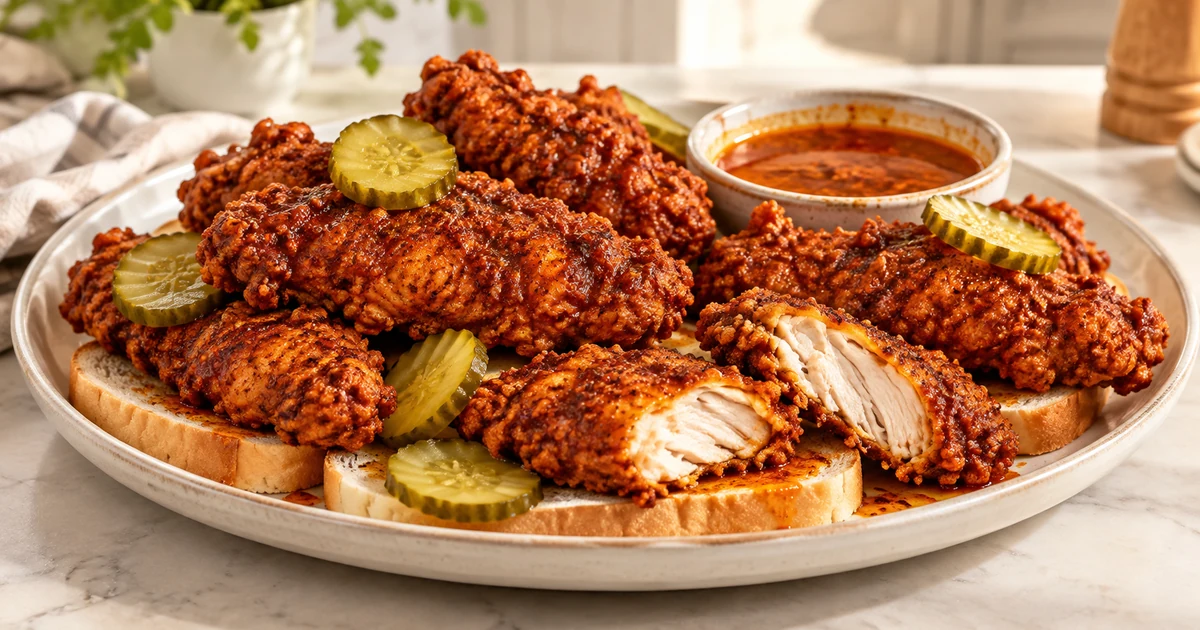
You get juicy chicken, a craggy golden crust, and a spicy butter glaze that makes every bite feel like an event. Add pickles and white bread, and suddenly your kitchen has serious hot chicken energy.
This version uses melted butter for the spicy coating rather than the traditional hot frying oil. You still get that cayenne punch, plus a buttery finish. Start with the lower cayenne amount unless you enjoy negotiating with your dinner.
Servings: 4
Prep time: 20 minutes
Marinating time: 30 minutes to 4 hours
Cooking time: About 20 minutes in batches
Why This Recipe Is Awesome
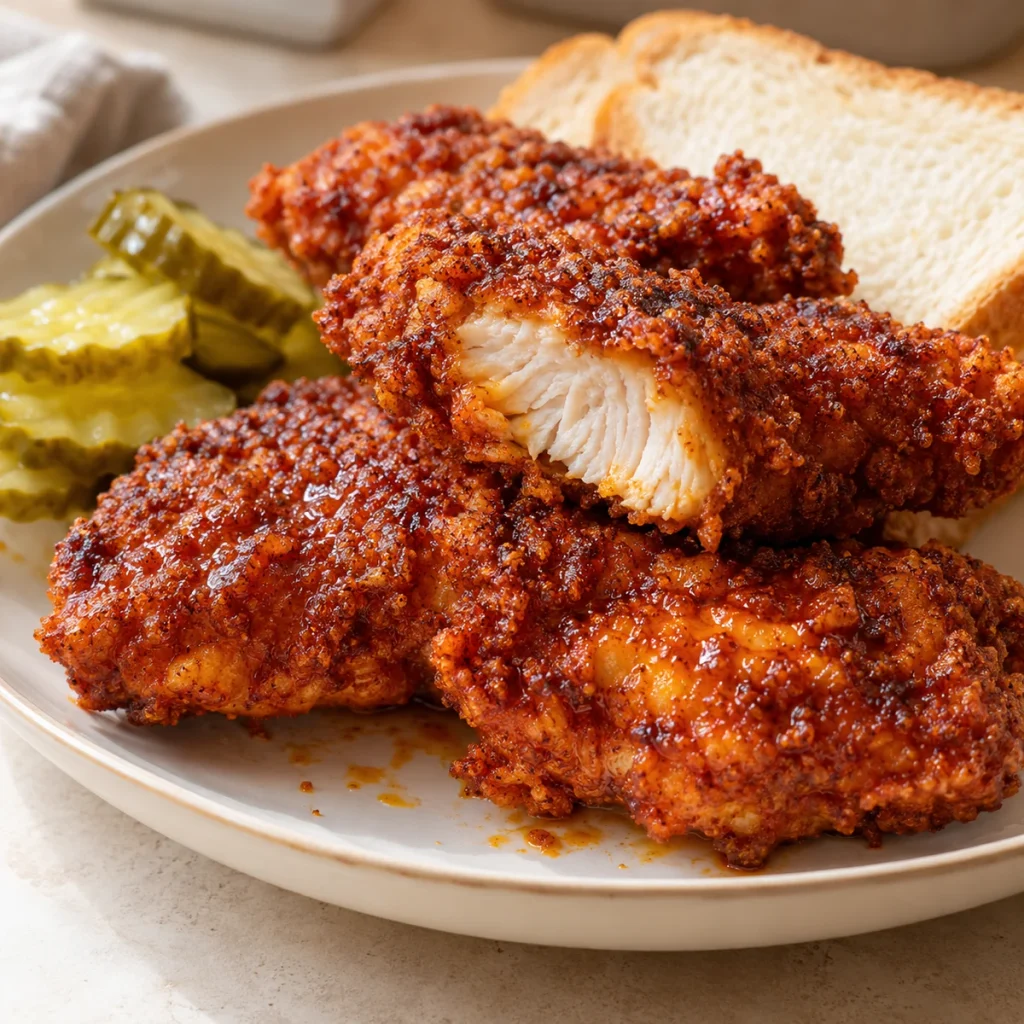
The coating brings actual crunch, not a thin layer of flour pretending to help. A flour-and-cornstarch mix creates a crisp crust, while a second dredge adds those little textured bits everyone steals from the serving platter.
Buttermilk coats the chicken and helps the flour cling. A short marinade also seasons the meat, so the flavor doesn’t stop at the surface.
Then comes the spicy butter. Cayenne supplies heat, paprika adds depth, and brown sugar rounds out the edges without turning this into dessert.
You control the spice level. Keep it manageable for a family dinner or increase the cayenne for friends who say everything needs more heat. Let them prove it.
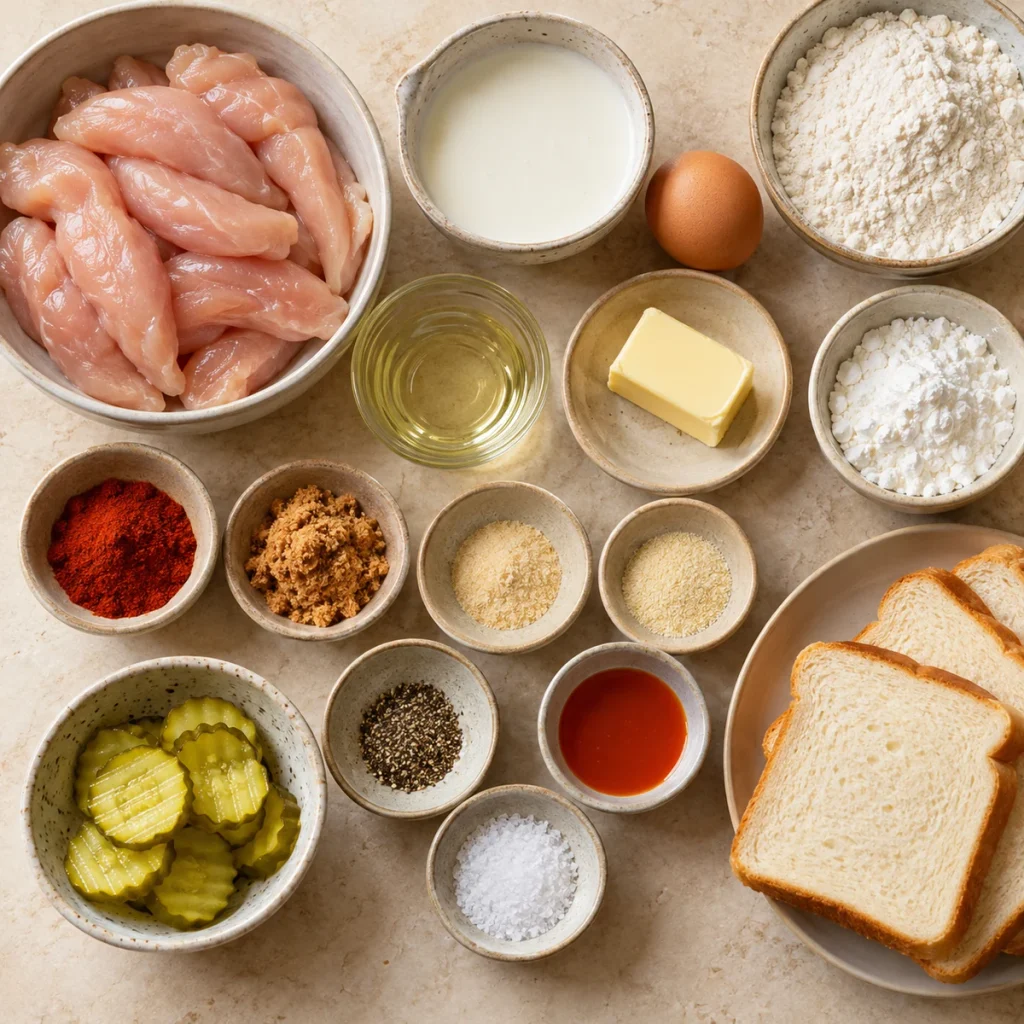
Ingredients You’ll Need
For the chicken and marinade
- 1½ pounds chicken tenderloins: Remove the tough white tendons if you like.
- 1 cup buttermilk: The coating’s helpful sidekick.
- 1 large egg: Helps the wet mixture grip the chicken.
- 1 tablespoon hot sauce: Use a vinegar-based sauce.
- 1 teaspoon kosher salt: Use about ½ teaspoon if you choose fine table salt.
- ½ teaspoon black pepper: A little background warmth.
For the crunchy coating
- 1½ cups all-purpose flour: Your crust’s foundation.
- ½ cup cornstarch: Crunch insurance.
- 1 teaspoon paprika: Regular sweet paprika works.
- 1 teaspoon garlic powder: Flavor without chopping.
- ½ teaspoon onion powder: Small amount, useful contribution.
- 1 teaspoon kosher salt: Or about ½ teaspoon fine table salt.
- ½ teaspoon black pepper: Because bland breading feels unnecessary.
For the spicy butter glaze
- 4 tablespoons unsalted butter
- 2 tablespoons neutral oil: Use fresh oil, not hot oil from the frying pot.
- 1–3 teaspoons cayenne pepper: Start with 1 teaspoon; 3 brings a stronger kick.
- 2 teaspoons brown sugar
- 1 teaspoon paprika
- ½ teaspoon garlic powder
- ¼ teaspoon fine salt
For frying and serving
- Neutral frying oil: Enough for a 1½–2-inch depth in a heavy pot.
- Dill pickle slices and white bread: Classic company for hot chicken.
Feeding a bigger crowd? Use our recipe scaler to adjust the chicken, breading, and glaze amounts.
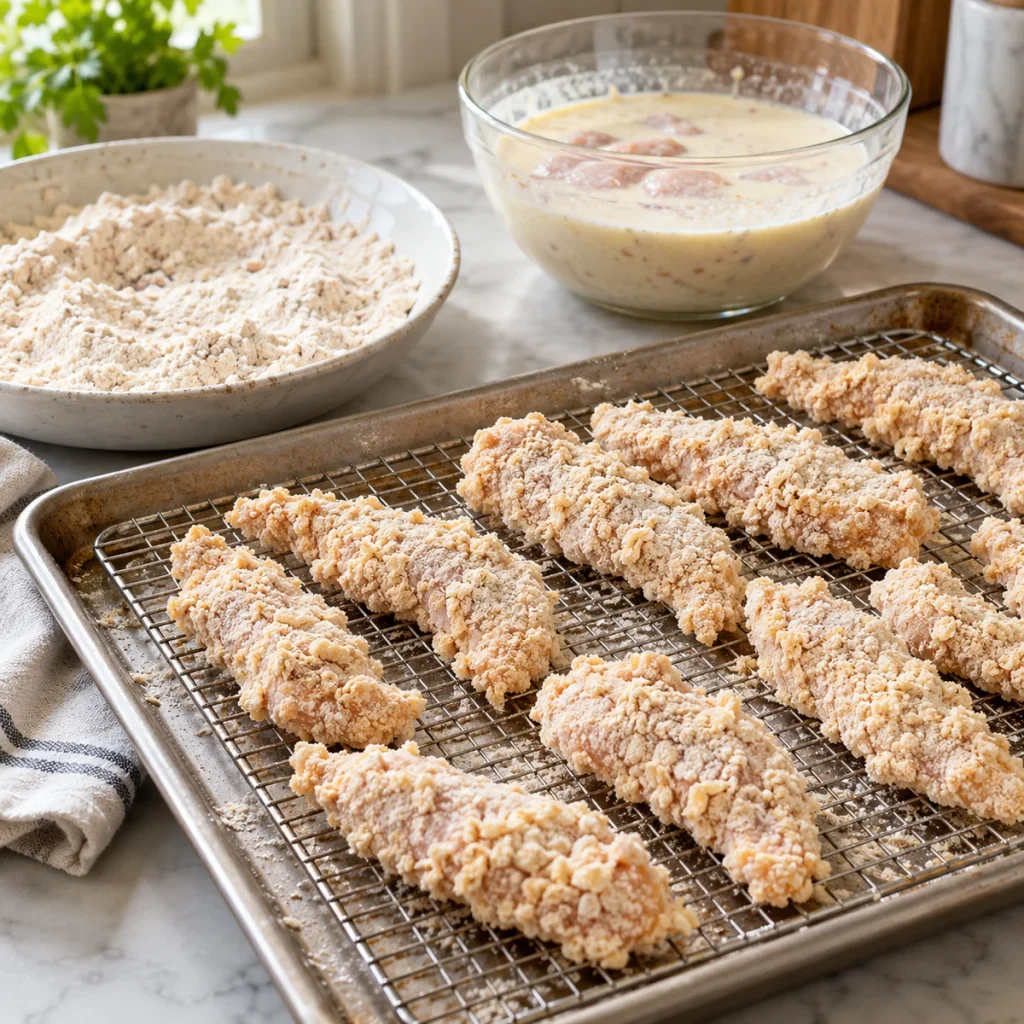
Step-by-Step Instructions For Nashville Hot Chicken Tenders
- Marinate the chicken. Whisk buttermilk, egg, hot sauce, salt, and pepper in a bowl. Add the chicken, coat every piece, cover, and refrigerate for 30 minutes to 4 hours.
- Prepare the breading. Mix flour, cornstarch, paprika, garlic powder, onion powder, salt, and pepper in a shallow dish. Set a wire rack over a baking sheet nearby.
- Heat the frying oil. Pour oil into a heavy, deep pot, keeping the pot no more than halfway full. Heat it to 350°F / 175°C, using a frying thermometer to check.
- Double-dredge the tenders. Lift one tender from the marinade and let the excess drip off. Press it into the flour mixture, briefly dip it back into the marinade, then press it into the flour again.
- Let the coating settle. Place the coated tenders on the rack for 5–10 minutes. This short pause helps the flour hydrate and cling rather than abandon ship in the oil.
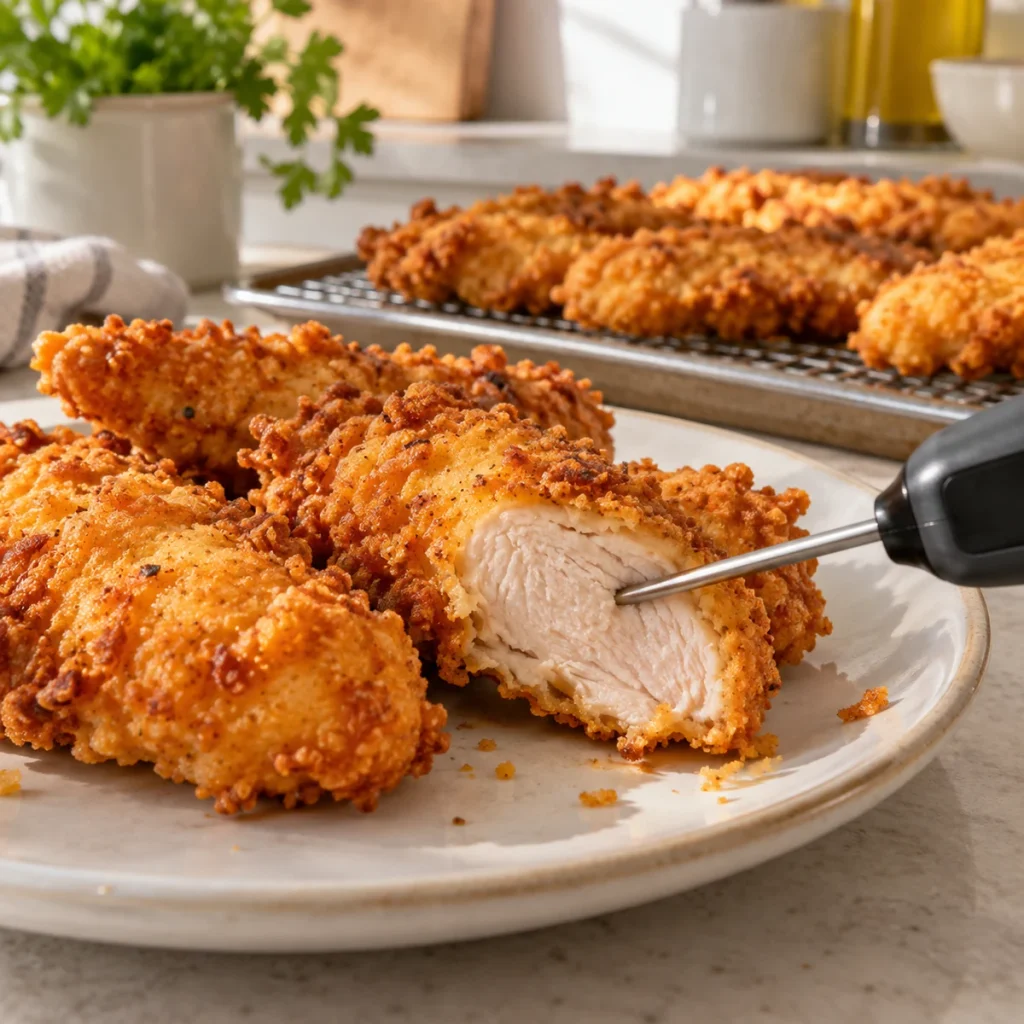
- Fry in small batches. Carefully lower a few tenders into the oil with tongs. Fry for roughly 5–7 minutes, turning as needed, until golden and the thickest part reaches 165°F / 74°C.
- Drain and reset. Transfer cooked chicken to a clean wire rack over a separate tray. Let the oil return to 350°F before adding another batch.
- Make the spicy butter. Melt butter gently in a small saucepan, then remove it from the heat. Stir in fresh neutral oil, cayenne, brown sugar, paprika, garlic powder, and salt.
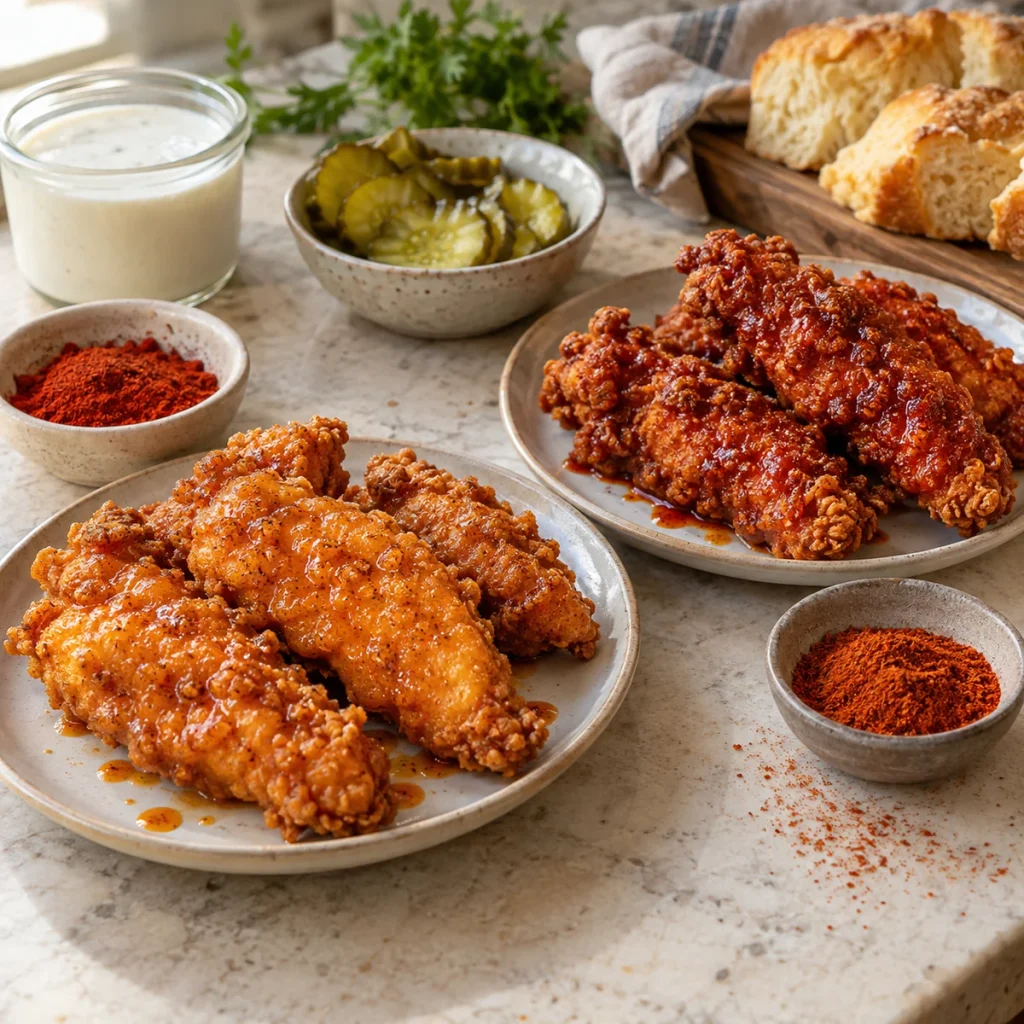
- Brush and serve. Stir the glaze again, then lightly brush it over the hot tenders. Serve immediately with pickles and bread.
Brush on a thin coating first. You can add more glaze, but you can’t politely ask cayenne to leave.
Common Mistakes to Avoid
- Guessing the oil temperature. Cool oil encourages greasy breading; overheated oil browns the crust too quickly. Let the thermometer earn its drawer space.
- Crowding the pot. Too many tenders drop the oil temperature. Cook in batches, even when hunger starts offering bad advice.
- Trusting color alone. A golden crust doesn’t confirm cooked chicken. Check the thickest part with a thermometer and follow the USDA’s safe cooking temperature guidance: chicken should reach 165°F / 74°C.
- Skipping the coating rest. Give the breading a few minutes to settle before frying.
- Drowning the chicken in glaze. A heavy pour softens the crust. Brush lightly and serve extra glaze alongside.
- Reusing raw marinade. Discard leftover marinade and breading after coating the chicken.
Alternatives & Substitutions
No tenderloins? Slice boneless chicken breasts into evenly sized strips. Similar thickness helps them cook at the same pace.
No buttermilk? Mix 1 tablespoon lemon juice with enough milk to make 1 cup. Let it stand for 5–10 minutes before adding the other marinade ingredients.
Want less heat? Use ½ teaspoon cayenne in the glaze and keep the paprika. You’ll get a milder version with plenty of flavor.
Prefer a richer coating? Replace the glaze’s 2 tablespoons of oil with another 2 tablespoons of melted butter. IMO, the original mixture spreads a little more easily.
Need gluten-free breading? Try a gluten-free all-purpose flour blend with the cornstarch, and check your other ingredient labels. Expect some texture differences.
FAQs
1. Are these extremely spicy?
They can be! Start with 1 teaspoon cayenne for a noticeable kick, or use ½ teaspoon for gentler heat. Different cayenne brands vary, so taste a little glaze before brushing.
2. Can I marinate overnight?
For this recipe, stick with the shorter 30-minute-to-4-hour window. Thin tenders don’t need an all-night buttermilk holiday.
3. Why does my coating fall off?
Excess marinade, loose flour, and too much handling can cause trouble. Let liquid drip off, press the breading firmly onto the chicken, and turn the tenders gently.
4. Can I air-fry them?
Yes, although the crust will differ. Spray the breaded tenders thoroughly with oil and air-fry in a single layer at 400°F / 200°C for roughly 10–14 minutes, flipping halfway, until they reach 165°F / 74°C.
5. Can I make them ahead?
For the best crunch, fry and glaze them shortly before serving. If you need a head start, prepare the dry breading and marinate the chicken separately.
6. How should I reheat leftovers?
Reheat them on a rack in a 375°F / 190°C oven until the center reaches 165°F / 74°C. Start checking around 10 minutes; thickness and your oven will affect timing.
Final Thoughts
These Nashville hot chicken tenders bring crunch, juicy chicken, and enough buttery heat to make dinner memorable. You don’t need restaurant equipment; just a sturdy pot, a thermometer, and a little patience between batches.
Want something fresh alongside all that spicy crunch? Try one of these fall salad ideas to round out your meal.
Grab the pickles, choose your spice level, and keep the napkins close. Your kitchen is about to serve something worth getting excited about.